Baking · Cake · Cake Decorating · Marzipan Modelling

The Bunny-Butt Cake

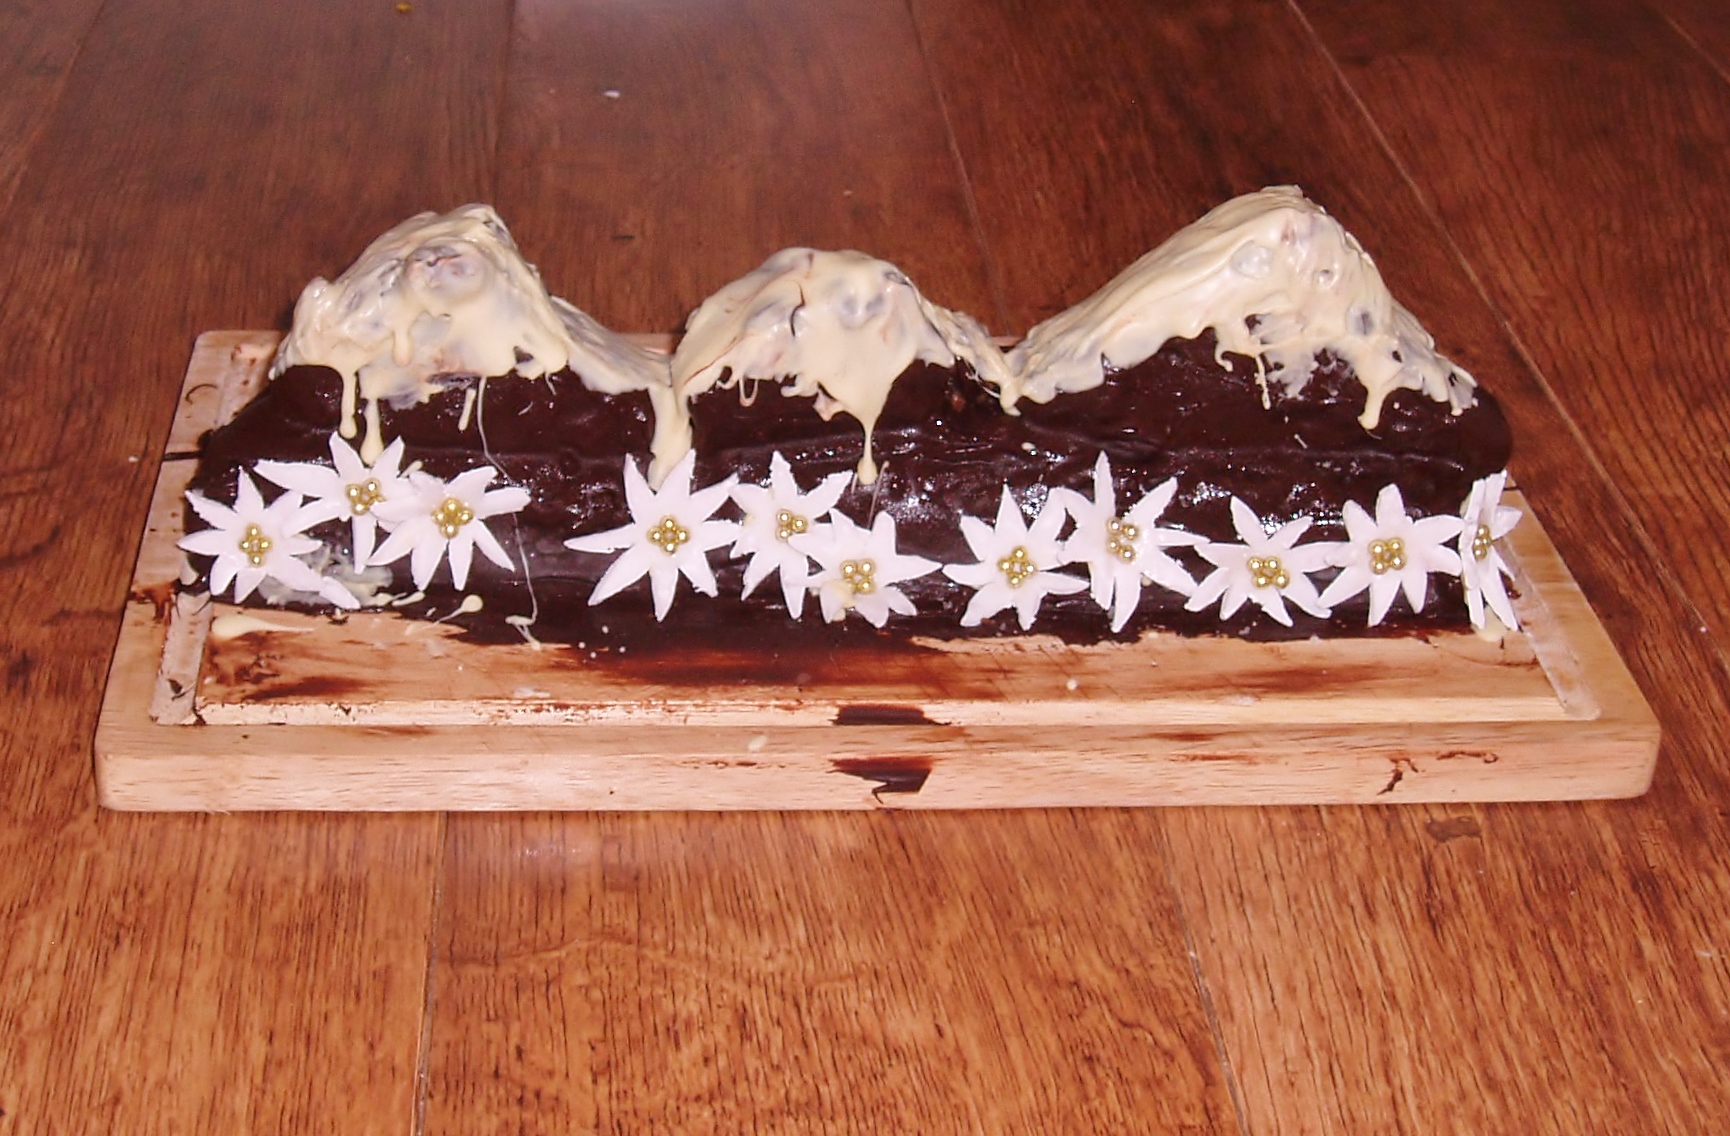
Happy Easter everyone! I hope that your Easter has been enjoyable and chocolate-filled – apparently 2014 is going to see a worldwide chocolate drought… If you are like me, you will no doubt be stockpiling at this announcement (though I do believe this same announcement has been made for the past 3 years…)

DSC_0095

No country for this bake, but rather a celebration of the occasion. I’m sure many of you will be using the bank holiday weekend to do some baking, and some of you may even be aiming to make this years popular choice – the bunny-butt cake! Seen in many different incarnations, from cupcakes to biscuits, the bunny-butt seems to have taken over from the Easter egg nest cakes – just google ‘Bunny-Butt cake’ if you don’t believe me! The following is my interpretation of this trend. My naughty bunny is – in the style of Peter Rabbit – digging up the carrot patch. Many carrots have already been uprooted and the rest are surely going to become fair game…

DSC_0094

The base of this cake is a chocolate chunk bundt cake, covered in a chocolate buttercream. The bunny is made of a single chocolate cupcake, covered in a combination of melted chocolate and desiccated coconut, to give a furry texture. Final details are then added – soil is made through the use of sifted cocoa powder, and carrots and other details are added with marzipan.

DSC_0089

Chocolate Bunny-Butt Cake

Ingredients:

Cake:

10oz butter
10oz caster sugar
10oz plain flour + 1tbsp extra
3 heaped tbsp cocoa powder
4 tsp baking powder
5 eggs
150g plain chocolate, roughly chopped.
2 tsp vanilla Essence

Decorations:

100g chocolate (I used milk, but you could alter this depending on what colour rabbit you want)
50g desiccated coconut
250g Icing sugar
80g butter
25ml milk
1 heaped tbsp cocoa powder
White Marzipan
Food colouring – green, yellow, red and brown.

Instructions:

Making the Cake:

Preheat the oven to gas mark 4/180 degrees Celsius, and grease and flour a bundt tin. Line six holes of a cupcake tin with paper liners. Cream together the butter and sugar until pale and fluffy, before adding in the eggs, beating after each addition. Add the flour, baking powder, cocoa powder and vanilla essence and beat to combine. Add the chocolate chunks and mix to combine.

Half-fill the bundt tin, and use the remainder of the mixture to generously fill the six cupcake cases. (If there is any extra mixture use to top up the bundt tin!) Bake the bundt cake for 45 minutes until the cake is firm and springy to the touch and coming away from the side of the tin. The cupcakes will be baked for about 20 minutes, again until firm and slightly springy. Allow the cakes to cool completely before continuing.

Decorating the Cake:

To decorate, start by making the marzipan decorations – if they are all made at the start, compiling the cake will be much easier. Start by making 6 small balls of white marzipan – these will become the rabbit tails. Next, the rabbit feet. Start by colouring some marzipan brown, and make 12 ovals. Use tiny balls of white marzipan to add the details on the soles of the feet, pressing slightly to ensure they stick to the base! Make 12 pointed ovals to make the bunny ears, and set aside.

Next, make the carrots, by colouring some more marzipan orange (combining red and yellow food colouring). Make a combination of complete carrots, and carrot tops, to show your little rabbit in the process of destroying this lovely vegetable patch!

To complete the bunnies, melt the chocolate and combine with the desiccated coconut. Spread this on top of the cupcakes, and decorate with the tails and feet (leave the ears for later). Leave to cool.

To make the buttercream, beat the butter and icing sugar together until light and fluffy. Add the milk and continue beating until light and fluffy – this will take about 5 minutes. Separate 1 tablespoon of the buttercream into a different bowl, and add a few drops of green food colouring to tint the mixture. Add 1 heaped tablespoon of cocoa powder to the remaining buttercream and combine.

Finishing the Cake:

Trim the bottom of the cake to ensure a flat base and place on a plate. Spread the chocolate buttercream over the cake, ensuring no gaps, and sift cocoa powder over the top. Carefully place the best cupcake in the middle of the cake (it should fit in neatly with no sight of the paper liner), and tuck the two ears at the top, using a little melted chocolate or edible glue to hold in place if needed. Decorate the rest of the cake with the carrots, before piping the final details with the green buttercream.

Baking · Cake · Cake Decorating · Europe · Nation Cake Challenge · Sugar Flowers

Azerbaijan: Black Tea Cake

Flag of Azerbaijan

In every country, when you visit someone’s house you will likely be treated to some forms of refreshment. Whether tea, coffee or water; to paraphrase Sheldon Cooper ‘The social protocol dictates that when you have visitors you must offer them a hot beverage.’ Crazy he may be, but he’s dead on – you’ve got to do it!

If you visit someone in Azerbaijan, and they follow this protocol, you would most likely be offered black tea (the national drink)often with fruit preserves. I really wanted to try to utilise the flavour of tea in the cake, and decided to try and infuse a simple sponge recipe with tea. I then topped this with a tea infused buttercream and decorated it with sugar flowers.

OLYMPUS DIGITAL CAMERA

OLYMPUS DIGITAL CAMERA

Black Tea Cake

Ingredients:

The cake:

  • 3 black tea bags (I used Earl Grey)
  • 2 tbsp freshly boiled water
  • 8oz butter
  • 8oz caster sugar
  • 8oz plain flour
  • 3 tsp baking powder
  • 4 eggs

Buttercream (recipe taken from the trusted Hunningbird Bakery):

  • 250g icing sugar
  • 80g unsalted butter
  • 25ml whole milk
  • The three tea bags (used earlier in the recipe)

Sugar flowers:

  • Royal icing
  • Icing sugar (used for dusting)
  • A few drops of yellow food colouring

Instructions:

Pre-heat the oven to 180°C/Gas mark 5, and grease and line an 8in springform tin.

Steep the teabags in the boiled water and leave for 30 minutes, in order to extract as much flavour as possible. Make a standard sponge mixture by creaming together the butter and sugar, before adding the eggs in one by one. Sift in the flour and baking powder and mix to a smooth consistency. Remove the tea bags from the tea and set aside – you will be using them again later. Add the tea to the cake mix and fold in until completely combined. Pour the mixture into the pre-prepared cake tin and bake for 45-50 minutes until the cake is golden brown and firm to the touch. Remove and allow to cool.

To make the frosting, place the tea bags into the milk, and allow to steep for about 10 minutes. Cream together the icing sugar and butter until light and fluffy – this will take about 5 minutes so make your life a bit easier by using an electric whisk! Remove the tea bags, squeezing to release as much of the remaining flavour as you can, and mix the milk into the frosting, beating for another 2-3 minutes to ensure a really light fluffy frosting.

To construct the cake use a long serrated knife to cut the cake into two layers, and to ensure that the cakes are completely flat – this will make filling and decorating much easier! Place the bottom layer on a plate and spread with a layer of the buttercream. Place the second cake on the top, and cover the cake with the remainder of the buttercream, using a palate knife to ensure a smooth finish. Use the edge of the palate knife to give a decorative layered look to your cake if you wish, or just leave it as a smooth finish. Decorate with sugar flowers of your choice – I have used simple blossom flowers, but you can be as creative as you wish!

Serve with a refreshing beverage of your choice.

Baking · Cake · Europe · Nation Cake Challenge

Iceland: Slöngukaka (Snake Cake with Coffee Buttercream)

The Flag of Iceland, drawn by Ævar Arnfjörð Bj...

Iceland has possibly one of the most descriptive names of any country in the world. Ice-land. You know exactly what you are getting – cold. I always felt that Iceland must feel a little forgotten, the only visitors being the multitude of school trips that descend every year in order to study the many amazing geological features. Now being a little older and wiser, I really want to go myself, however at the moment that wish seems quite far off, so instead I try to imagine myself there by baking this traditional Icelandic cake. Icelandic cuisine has been affected by the cold climate, so vegetables and fruit are not commonly used and spices are also uncommon. However they do like coffee (and coca-cola, but we’ll stick with the coffee for now!), so I wanted a recipe that included this.

OLYMPUS DIGITAL CAMERA

Iceland was a Danish dependency until 1918, and as a result much of the sweet food consumed on the island is Danish in origin. Baking recipes in particular are apparently rare as suitable cooking equipment was not readily available until the early 1900’s. Presented here then is an adaptation of Slöngukaka, otherwise known as snake cake. Named thus because it looks like curled up snakes when cut, it is primarily an Icelandic version of the English Swiss Roll Cake. I decided to adapt the recipe by including coffee in the recipe, a very popular drink in Iceland. This recipe is for a light coffee sponge cake, filled with a coffee buttercream.

OLYMPUS DIGITAL CAMERA

Slöngukaka

Ingredients:

Sponge:

  • 125g plain flour
  • 125g caster sugar
  • 3 eggs

Buttercream:

  • 125g icing sugar
  • 40g butter
  • 12ml milk
  • 2 tsp instant coffee, dissolved in 1 tsp water.

Instructions:

Preheat the oven to 200C/fan180C/gas 6. Brush the bottom of a swiss roll tin or baking sheet with vegetable oil and line with a piece of baking parchment (cut to fit). Brush the paper with a bit more oil before dusting with a little flour and caster sugar. Set aside.

Beat the sugar and eggs together until they are thick and pale (lifting the beat should leave a trail of the mixture on the top). Sift in half the flour and fold in gently until completely incorporated. Repeat with the remaining flour. Fold in one table spoon of lukewarm water before pouring into the prepared tin. Spread the mixture to ensure that it evenly covers the complete surface, and then bake in the oven for 10-12 minutes until golden brown.

To make the coffee buttercream, beat the butter and sugar together until light and fluffy, before adding in the milk and dissolved coffee. Continue to mix until the buttercream is thick and creamy (about 5 minutes).

Now comes the tricky part – rolling it up! I have had so many cracked rolls it is untrue! However, they still taste good so don’t worry too much! Loosen the sponge from the sheet and turn out onto a sheet of greaseproof paper dusted with a little sugar. Peel the baking paper of the back and discard. Spread the buttercream over the sponge, leaving a small gap all the way around – this will allow the filling to spread as you roll it up! Using the greaseproof paper to help, start rolling (ensuring you keep the roll tight). Leave the Cake to rest seam-side down for a few hours. Decorate with piped melted chocolate if desired.

The recipes for this cake are from Delicious Magazine (Cake) and The Hummingbird Bakery Cookbook (adapted)

Help for rolling up Swiss Rolls/Icelandic Snake Cakes

Baking · Cake · Europe · Nation Cake Challenge

Germany: Lebkuchen Cake

Flag of Germany

Today’s post is a record of what happens when you try to be too clever. When I started designing this cake, I went way over the top. I had an amazing vision of a cake that was a combination of lebkuchen and black forest gateaux – my two favourite German desserts. Surprisingly enough, this did not work.

OLYMPUS DIGITAL CAMERA

A a result, I decided to make life a little more simple, and just focus on lebkuchen, the lovely German spiced biscuits. The flavours have been adapted into a cake, filled with apricot jam and iced with traditional glace icing. Decoration takes the form of piped chocolate, as i traditional or these biscuits. The cake is dark, rich and very strong in flavour, but well worth trying!

OLYMPUS DIGITAL CAMERA

Lebkuchen Cake

Ingredients:

  • 8oz butter
  • 8oz dark muscovado sugar
  • 113gblack treacle
  • 12oz plain flour
  • 2 tsp ground ginger
  • 2 tsp ground cinnamon
  • 2 tsp ground cloves
  • 2 tsp ground allspice
  • 2 tsp ground nutmeg
  • 2 eggs, beaten
  • 300ml milk
  • 2 tsp bicarbonate of soda

Icing:

  • 50g icing sugar, sifted
  • 4 tsp water
  • 10g dark chocolate
  • 4 tbsp apricot jam

Instructions:

Preheat the oven to 160C/350F/Gas Mark 3. Grease and line either two 7 inch sandwich tins. Heat the butter, sugar and treacle together and stir until smooth, before allowing the mixture to cool slightly.

Mix the dry ingredients in a bowl before combining with the treacle mixture. Add the eggs and mix well.

Warm the milk in a pan, stirring to ensure it does not burn on the bottom of the pan. Add the bicarbonate of soda and allow the mixture to foam slightly, before adding to the mixture and mixing well to combine.

Pour into the cake tins and bake in the oven for 25-30 minutes. Check they are cooked by testing to see if a skewer comes out clean.

Sandwich the cooled cakes together with apricot jam.  Make the glace icing by mixing the sifted icing sugar and the water to form a basic glace icing. Using a pastry brush, top the cake with the glace icing and leave to cool. Once cooled, melt the chocolate and place in a piping bag. Use this to decorate the lebkuchen biscuits, either with slashes or patterns.

Baking · Cake · Europe · Nation Cake Challenge

Finland: Almond Cake with Cardamon-Cinnamon Cream

Flag of Finland

Whilst none of the cakes have been a disaster, some are going to be more popular than others, and this is one of them. All I can say is make this cake. Just do it. Very moist and with a delicious filling, a small slice is enough (making it very long lasting), but will also leave you wanting more.

OLYMPUS DIGITAL CAMERA

This Finnish-influenced cake is based on the holiday pastry Laskiaispulla, a sweet bread/cake filled with almond paste and whipped cream. To create this cake, I combined a dense almond cake with whipped cream flavoured with cardamon and cinnamon. The addition of the whipped cream lightens the dense cake base and adds an extra layer of flavour to the cake. The cake recipe was taken from David Leibowitz’s blog, whilst the flavoured cream was the result of many trials and tastings. Enjoy!

OLYMPUS DIGITAL CAMERA

Almond Cake with Cardamon-Cinnamon Cream

Ingredients:

The Almond Paste:

  • 1 1/2 cups ground almonds
  • 3/4 cup icing sugar
  • 1 small egg white

The cake:

  • 1 1/3 cups (265g) sugar
  • 8 ounces (225g) almond paste
  • 3/4, plus 1/4 cup (140g total) flour
  • 1 cup (8 ounces, 225g) unsalted butter, at room temperature, cubed
  • 1 1/2 teaspoons baking powder
  • 3/4 teaspoon salt
  • 1 teaspoon vanilla extract
  • 1 teaspoon almond extract
  • 6 large eggs, at room temperature

The cream:

  • 150ml double cream
  • 2 tbsp icing sugar
  • 1 tsp ground cinnamon
  • 1 tsp ground cardamon

Instructions:

Make the almond paste by pulsing the almonds and icing sugar together in a food processer. Add the egg white and process until the mixture forms a lump. If it seems sticky, add a tablespoon more icing sugar and process again until smooth.

Preheat the oven to 325ºF (162ºC). Grease a 9- or 10-inch (23-25 cm) cake or spring form pan with butter, dust it with flour and tap out any excess. Line the bottom of the pan with a round of parchment paper. (See Note, below.)

In the bowl of a food processor, grind the sugar, almond paste, and 1/4 cup (35g) of flour until the mixture resembles fine breadcrumbs. Add the butter, vanilla and almond extracts and process until the mixture is smooth and fluffy. Add the eggs one at a time, ensuring they are completely combined.

Mix the remaining flour, baking powder and salt in a separate bowl. Add half of this mixture to the food processor and pulse several times before repeating with the remaining flour. Do not over mix it at this stage – it should be just incorporated. Add the batter to the tin and baker for 65 minutes until golden brown and firm in the centre. Remove from the oven and loosen the edges of the cake before allowing it to cool completely.

To make the cream, whisk together all the ingredients in a large bowl until soft and fluffy. Slice the cake in half and sandwich the cake halves together with the cream. Sift icing sugar over the top, an decorate with cinnamon and cardamon if wished.

Baking · Cake · Cake Carving · Cake Decorating · Europe · Nation Cake Challenge · Sugar Flowers

Switzerland: Chocolate and Almond Mountain Cake

The national flag of Switzerland.

Switzerland is a country that means a lot to me personally having been the basis for many family holidays in the Bernese Alps. As a result I knew instantly that I wanted to incorporate two things into this cake – mountains and edelweiss. In order to accomplish this successfully I decided to use this cake as an opportunity to brush up on my cake decorating skills which at this point in the challenge are approximately nil.

The basis of this cake is a chocolate almond sponge with added chunks of dark chocolate and almonds, inspired by the famous Swiss chocolate brand Toblerone. One of my favourite chocolates (on the return flight of a holiday I usually can be found in the duty-free shop stocking up!), it seemed natural to present this, both through choice of flavours and in that the iconic triangle shape is represented by a Swiss mountain, the Matterhorn. After carving and construction the cake was then covered in dark chocolate and  frozen. White chocolate was added to represent the snow-capped peaks, and fondant edelweiss were added to the bottom.

OLYMPUS DIGITAL CAMERA

Chocolate and Almond Mountain Cake

Ingredients:

The cake:

  • 6oz plain flour
  • 8oz butter
  • 8oz caster sugar
  • 4oz ground almonds
  • 4 eggs
  • 3 tsp baking powder
  • 4 tbsp cocoa powder
  • 100g dark chocolate, roughly chopped
  • 100g almonds, roughly chopped
  • 2 tsp vanilla essence

To decorate:

  • 300g dark chocolate
  • 100g white chocolate
  • White fondant icing
  • Small gold balls (very small balls of yellow icing can be used if not available)

Instructions:

Preheat the oven to Gas Mark 5. Grease and line a shallow rectangular baking tray (You are looking for area not depth in this tin!)

Cream together the sugar and butter before adding the eggs, beating after each addition. Add the flour, baking powder, cocoa, ground almonds and vanilla essence and mix until thoroughly combined. Add in the chopped chocolate and nuts and mix in gently. Pour the mixture into the prepared tin and bake in the oven for 45-50 minutes, turning halfway through the cooking time.

When the cake is cooked, remove from the oven and leave to cool for 15 minutes. Turn the cake out onto a wire rack and leave to cool completely. As the cake must be completely cold before carving, if possible place in the freezer for half n hour before carving.

Whilst the cake is cooking/cooling, make your Edelweiss. Dust your surface and fondant with icing sugar before briefly kneading ad then rolling out to a thickness of 2mm. Using an small 8 petal daisy template (if you do not have one, draw your own), cut out about 10 flowers out of the white fondant. Place a small amount of egg white or edible glue onto the centre of each flower, and finish off the flower with the addition of 4 small gold balls. Set these aside to dry.

photo

Once the cake is completely cold, its time to start carving! I built up my cake on a clean chopping board as I did not have a plate long enough to complete this. Cut a slice lengthways from the cake about 3in wide – this will be your base. From the rest of your cake you will now cut the mountains. The simplest way to do this is to cut triangles, however if you are feeling more adventurous, find a mountain of your choice and create a template by drawing around the shape.

At this point melt your dark chocolate, as the next part will be easier if you have it to hand. Use a small amount of dark chocolate to stick the mountains to the base, holding in place with cocktail sticks if necessary. Allow a small amount of time for these to dry (enough that you can remove the cocktail sticks) and then cover the whole cake in melted chocolate. Return the cake to the freezer and leave for the chocolate to set hard.

Melt the white chocolate. Remove the cake from the freezer and use a pastry brush to paint the mountain tops with the white chocolate. Don’t worry about it being too neat, but try to ensure that the snow comes down to the same level – you shouldn’t have one completely covered and one with only a small dab! Using a small amount of white chocolate on the back of each flower, adhere it to the base of the cake in groups of three, covering the bottom of the cake. Place back in the refrigerator to cool

Baking · Cake · Europe · Nation Cake Challenge

Italy: Limoncello and Basil Drizzle Cake

English: Italian Flag

This cake was inspired by a holiday to the Amalfi Coast several years ago. This part of the country seemed filled with lemons of many different varieties, Ranging from the Amalfi bread lemons, served in slices, to the combination of lemon and orange juice served in cafe’s around the small seaside town of Positano. They also found their way into limoncello, a local lemon liquor which gladly is starting to be seen in England more these days!

Looking back to Positano, Amalfi Coast, Italy.
Such a beautiful place!

Lemons were as big as footballs. And twice we ...

When I decided to start creating an Italian cake, limoncello seemed an obvious choice, especially as lemon drizzle cake is a personal favourite of mine. However, lemon itself wasn’t enough – It didn’t scream ‘Italian’ to me! My mind quickly went to basil, knowing that the two flavours are a good pairing, and seeing no reason why it should not work in cake form. The following cake soon developed: A lemon sponge cake with a basil and limoncello drizzle topped with a limoncello mascarpone frosting and candied basil leaves. Very good, and extremely lemony! The basil drizzle imparts enough of the flavour to heighten the taste, without seeming pesto-y, a problem I found with many other lemon and basil cakes. The candied basil leaves offer a lovely contrast in texture whilst still maintaining the flavour, though you may omit these if wished.

OLYMPUS DIGITAL CAMERA

Lemon and Basil Drizzle Cake with Limoncello Mascarpone Frosting and Candied Basil Leaves

Ingredients:

Cake:

  • 4oz plain flour
  • 4oz caster sugar
  • 4oz butter
  • 2 eggs
  • 1 1/2 tsp baking powder
  • zest of two lemons

Drizzle:

  • Juice of one lemons
  • Large handful of basil leaves
  • 50g caster sugar

Mascarpone Icing

  • 4oz mascarpone cheese
  • 4oz double cream
  • 2 tbsp icing sugar
  • 2 tbsp limoncello

Candied Basil Leaves:

  • 60ml water
  • 100g sugar
  • A handful of basil leaves

Instructions:

Preheat the oven to gas mark 5. Line and grease a loaf tin, and set aside.

Cream together the butter and sugar until soft and creamy. Add the eggs, one at a time, beating well after each addition. Add the zest of two lemons to the mixture and stir. Fold in the flour and baking powder to the mixture until well combined.

Add the mixture to the tin and bake in the oven for 30 minutes, or until a skewer comes out clean.

To make the lemon syrup, heat the sugar, lemon juice and basil leaves in a small pan, until the sugar has dissolved and the mixture has formed a thin syrup. Remove from the heat and stir in a tbsp of limoncello. Remove the basil leaves from the pan.

When the cake has been removed from the oven, use a sharp knife or skewer to make small holes in the cake before pouring the syrup over. Leave the cake to cool completely.

To make the candied basil leaves, make a simple syrup using half the sugar and the water, placing the remaining sugar in a small bowl. Line another baking sheet with greaseproof paper. Dip each basil leaf in the sugar syrup and the dredge in the remaining sugar. Place each leaf on the baking tray and allow to cool

To make the icing, whip the icing sugar and cream together to form soft peaks. Separately whip the mascarpone before folding the two mixtures together and adding the limoncello. Spread this on the top of the cake and decorate with the candied basil leaves.

Baking · Cake · Europe · Nation Cake Challenge

Republic of Ireland: Chocolate Guinness Cake

English: Irish Flag

Happy St. Patrick’s Day! In honour of today I present the cake for the Republic of Ireland – the Chocolate Guinness Cake.

The Shamrock, a typical Irish clover.

This cake is everything a chocolate cake should be; moist, chocolatey, dense and seriously delicious! The Guinness gives this cake a deep richness and the cream cheese frosting finishes the cake off perfectly (not to mention making it look authentic!) Sadly this is not an original recipe, being taken from the amazing book ‘Cake Days’ by the Hummingbird Bakery. Having said that though, this cake is too good not to make, and is one that is made regularly!

Chocolate Guinness Cake

Chocolate Guinness Cake

Ingredients:

The cake:

  • 250ml Guinness
  • 250g unsalted butter
  • 80g cocoa powder
  • 400g caster sugar
  • 2 eggs
  • 1 tsp vanilla essence
  • 140 ml buttermilk
  • 280g plain flour
  • 2 tsp bicarbonate of soda
  • 1/2 tsp baking powder

The frosting:

  • 50g unsalted butter
  • 300g icing sugar
  • 125g full fat cream cheese
  • Cocoa powder (for dusting)

Instructions:

Preheat the oven to 170°C (325°F)/Gas Mark 3, and line the base of a 9in springform tin with baking parchment.

Heat the butter and Guinness in a saucepan until the butter has melted, before removing from the heat and stirring in the sugar and cocoa powder. In a separate jug, mix the eggs, buttermilk and vanilla essence, before adding to the mixture in the pan.

Sift together the remaining cake ingredients into a bowl. Add the contents of the pan and mix until completely incorporated. Pour the batter into the prepared cake tin and bake for about 45 minutes or until an inserted skewer comes out clean. Set aside to cool before removing from the tin in preparation for frosting.

To make the frosting, sift the icing sugar into a bowl and mix with the butter until there are no lumps. Add the cream cheese, and beat in slowly. Increase the speed, and continue beating until the frosting is light and fluffy. Cover the cake with the frosting before dusting with cocoa powder.

Baking · Cake · Europe · Nation Cake Challenge

Northern Ireland: Irish Coffee Cake

The Shamrock, a typical Irish clover.

As I am sure you are aware, this Sunday is St. Patrick’s day, and so this weekend is going for demonstrate the two cakes of Ireland. Today we are going to finish of the UK and introduce you to the cake for Northern Ireland.

English: A design proposal for a new Northern ...

As mentioned in the Nation Cake Challenge Page, one of the main problems with this project is how to differentiate between closely related countries, and the two nations of Ireland demonstrates this very clearly, as much of the classic Irish cuisine seems to be common between the two countries. In response to this, I decided to create two countries, each representing a different focus of Irish food. Northern Ireland led the way, represented by an Irish coffee cake.

OLYMPUS DIGITAL CAMERA

This cake consists of a coffee sponge, soaked in a syrup of black coffee and Irish whisky. This is then layered with whipped cream liberally dosed with more whisky. The cake was then decorated by cocoa powder and flaked almonds.

Initially flaked almonds were used in the cake mix which gave a great crunchy texture to the sponge, however it did pose problems when leveling the cake -when the knife caught one of the almond flakes it would often rip out a chunk of cake mixture, resulting in a rather wobbly cake! As a result I replaced the flaked almonds with ground almonds, so as to keep the taste by ensure a neater finish.

Irish Coffee Cake

Ingredients:

Cake

  • 1/2 cup softened butter
  • 1/2 cup caster sugar
  • 2 eggs
  • 1 tsp instant coffee powder
  • 1 tsp vanilla extract
  • 1/2 cup plain flour
  • 1/2 cup ground almonds
  • 1 1/2 tsp baking powder
  • 1/4 tsp salt

Coffee Syrup:

  • 1/2 cup sugar
  • 1/2 cup strong black coffee
  • 1/4 cup Irish whiskey

Topping:

  • 1/2 cup whipping cream
  • 2 tbsp Irish whiskey
  • 1 tbsp sugar
  • Flaked almonds, to decorate.

Instructions:

Preheat the oven to 350˚F. Line and grease a 8in baking tin and set aside.

Cream together the butter and sugar until fluffy. Beat in the eggs, one at a time. Dissolve the instant coffee in the vanilla extract and a tablespoon of boiling water, and beat into the mixture. Mix together the flour, baking powder, salt and ground almonds before combining with the batter. Pour the batter into the cake tin and bake for 30 minutes in the oven (or until a skewer comes out clean). Leave to cool in the tin.

To make the coffee syrup, put the coffee and sugar in a pan and bring to the boil, stirring to dissolve the  sugar. Boil for one minute before removing from the heat and stirring in the whiskey. Use a sharp knife to make small slits in the top of the cake and pour over the syrup. Let the cake cool until all the syrup is absorbed.

Add the whiskey and sugar to the cream, and whisk until holding soft peaks. Using a large knife, carefully slice the cake into two and sandwich with the cream. Decorate the cake with the rest of the cream and flaked almonds.

Baking · Cake · Cupcakes · Europe · Nation Cake Challenge

Scotland: Cranachan Cake

Flag of Scotland. Ratio 3:5. The blue used is ...

I must admit the first thought that ran through my head when trying to design a Scottish cake was ‘How on earth am I going to combine haggis and deep-fried Mars bars into a cake people would actually want to eat?’ After a few minutes of panic I settled down, and remembered that actually Scotland has some wonderful produce which would make an excellent cake. For this cake, I decided to take inspiration from the dessert cranachan.

35a5b77c8d7011e2a67a22000a9f3cad_6

Cranachan is a Scottish dessert consisting of whipped cream, oats, raspberries, honey and whiskey, similar to the English dish Eton mess. My version of this dessert includes a cake made with rolled oats to add texture, soaked in scotch whiskey. This is then sandwiched with raspberry compote and topped with whipped cream. I then decorated the cake with fresh raspberries and a sprinkling of rolled oats.

OLYMPUS DIGITAL CAMERA

This recipe also works well made into cupcakes. To achieve this, I made the cupcake mixture as described below, before removing the centre and filling with the raspberry compote.  These were then topped with whipped cream and decorated again with raspberries and oats.

OLYMPUS DIGITAL CAMERA

Cranachan Cake

Ingredients

Cake:

  • 4oz plain flour
  • 4oz rolled oats
  • 3 tsp baking powder
  • 8oz caster sugar
  • 8oz butter
  • 1 tsp vanilla essence
  • 4 eggs
  • 1/2 cup of Scotch whiskey

Raspberry Compote:

  • 2 punnets raspberries
  • 2 tbsp caster sugar

Whipped cream topping:

  • 300 ml double cream
  • 4 tbsp whiskey

Instructions

Preheat the oven to gas mark 5. Grease an 8in round springform tin and set aside.

Cream together the butter and sugar until pale and smooth. Add in the eggs, beating well after each addition. Mix together the flour, oats and baking powder. Add this to the creamed mixture, mixing well to make a smooth mixture. Add the vanilla essence and stir in until completely combined. Pour the mixture into the cake tin and smooth the top. Bake in to oven for approximately 45-50 minutes, or until a skewer inserted in the middle comes out clean.

When the cake comes out of the oven, use a skewer or sharp knife make small slits in the cake. Pour over the whiskey, allowing time for the liquid to sink into the cake. Leave to cool for 15 minutes before removing from the tin and allowing to cool completely. Split the cake in half horizontally ready for filling.

Make the raspberry compote by reducing down the sugar and raspberries in a small pan until the mixture is thick. Strain through a sieve to remove the seeds and taste, adding more sugar as you feel necessary. Once it is sufficiently thick (you want it to be the consistency of raspberry jam) then spread on the bottom half of the cake.

[Cheat: You could use raspberry jam instead of the compote if preferred  -just ensure you choose a good brand!]

Whip up the cream, icing sugar and whiskey together for the topping, ensuring that it is really thick and creamy. Use the cream to top the cake, before decorating with fresh raspberries.