Baking · Cake Decorating · Cupcakes · Europe · Nation Cake Challenge · Sugar Flowers

Estonia: Rhubarb, Rose and Cardamom Cupcakes

Flag of Estonia

The development of a national cuisine is an ever-changing process. It is affected by many things, from global climate issues to historical events, all of which can drastically change the food that is eaten by a national people. Estonia is a clear example of this; the elimination of much of the culinary leaders during the USSR annexation of 1940 resulted in a country viewing food simply as a way of survival. Food was scarce, both the variety of foods available, but also the amount of food. The many restaurants were either shut down completely or reopened, providing Soviet cuisine. As a result, traditional Estonian food became less and less usual. Alongside this ran an influx of new culinary influences through the many displaced immigrants from other eastern Europen countries, who all played their part in adding a great amount of diversity to the existing culinary minds. After the annexation, Estonians took advantage of the diversity in ingredients, fusing traditional ideas with new concepts, brought in from countries all over Europe. The existing meat-and-potato based cuisine has been extended to include more uncommon fruits and vegetables and as a result to develop a tradition of food which is far more exciting than was previously available.

Estonia Cake Final 2

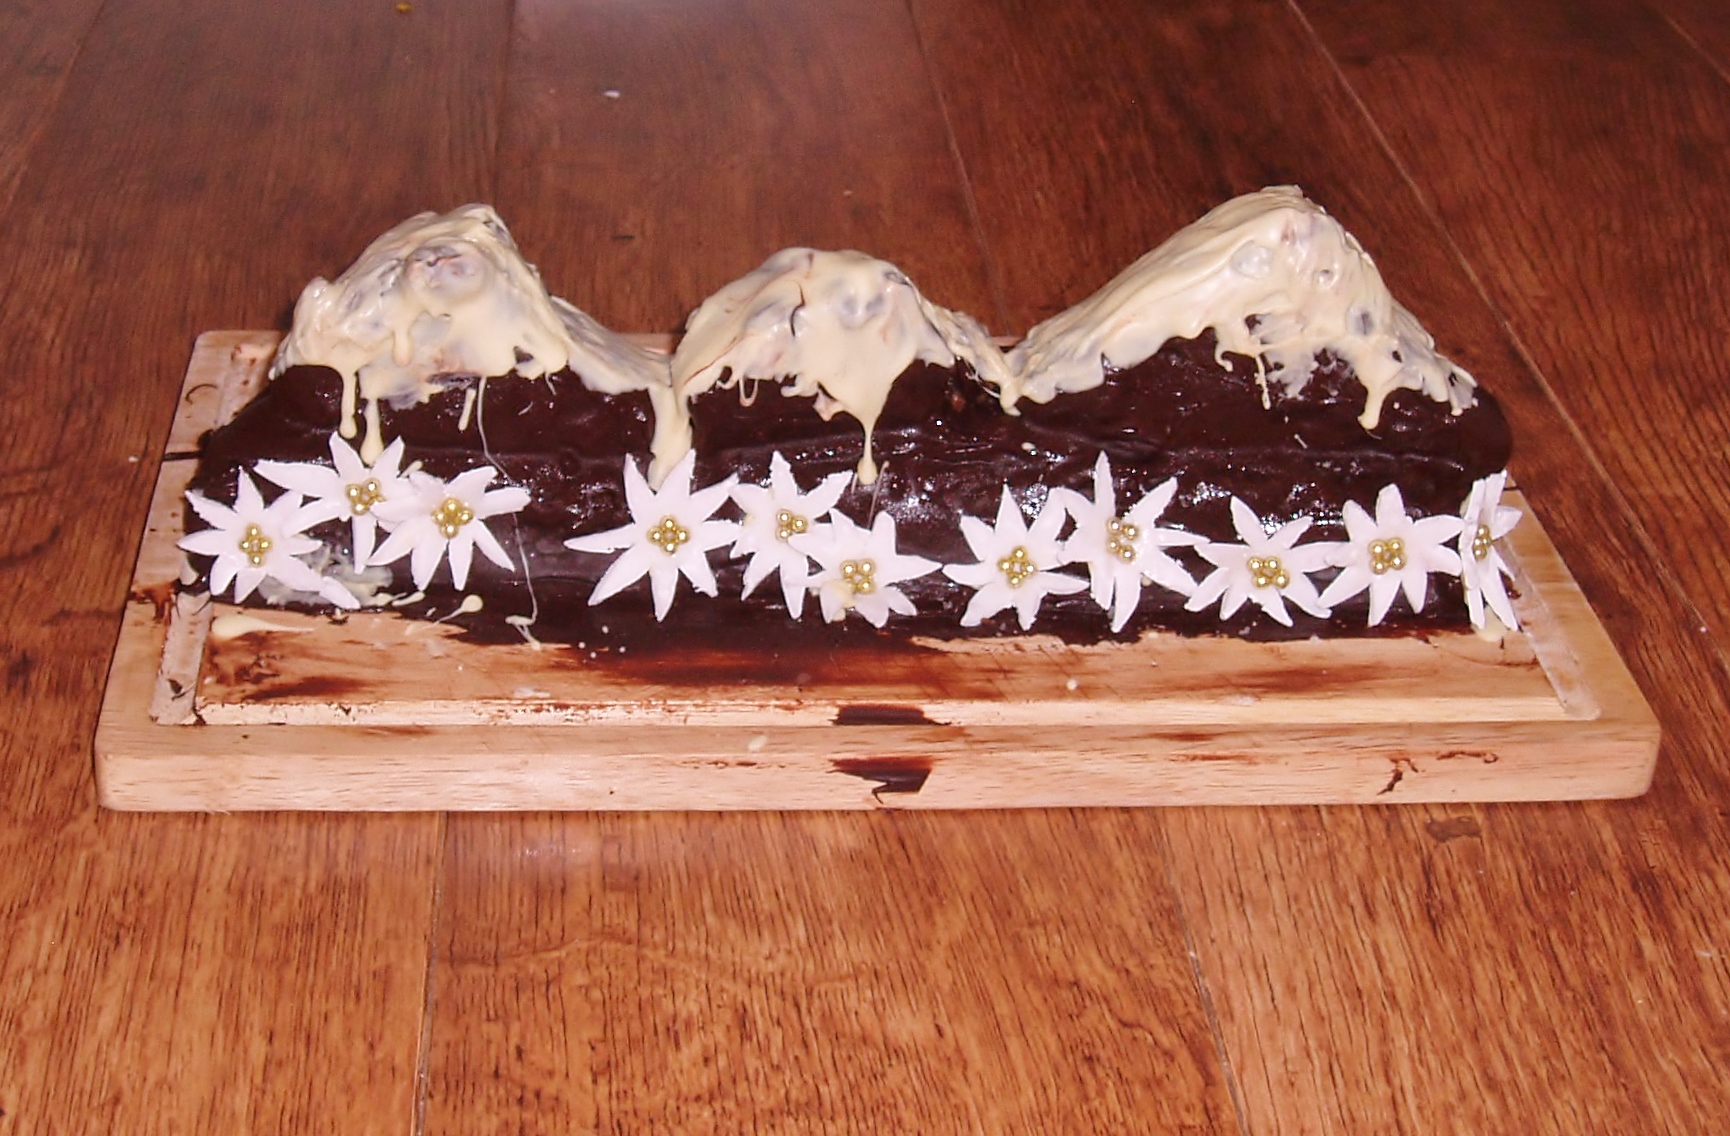
This recipe makes use of rhubarb, the lovely deep pink stems of which are seen in many Estonian gardens. A very popular cake in Estonia contains rhubarb and cardamom, so I combined these two flavours with hint of ginger and a dash of rosewater to create a cake which takes traditional Estonian flavours and brings them forward into a decidedly modern cupcake.

Estonia Cake final 1

Rhubarb, Rose and Cardamon Cupcakes

Ingredients:

  • 4 eggs
  • 8oz caster sugar
  • 8oz butter
  • 8oz plain flour
  • 3 tsp baking powder
  • 1 tsp vanilla essence
  • 25 cardamon pods, seeds removed OR 1 ts ground cardamon
  • 1/2 tsp ginger
  • 8 sticks of rhubarb
  • 2 tbsp caster sugar
  • 10ml cup water
  • 1 tsp rosewater
  • 80g butter
  • 250g icing sugar
  • 2 drops red food colouring
  • decorations of your choice

Instructions:

Preheat the oven to gas mark 5, and line 2 12-hole bun tins with bun cases. Set aside for later.

Cream together the butter and sugar, before beating in the eggs. Add the flour, baking powder, vanilla, cardamon and ginger and mix thoroughly. Spoon into the bun cases and bake in the oven for 25-30 minutes, until and inserted toothpick comes out clean. Remove and leave to cool.

While the cupcakes are cooling, make the  rhubarb filling. Cutthe sticks of rhubarb into small pieces and place in a small pan with the water and sugar. Cook on a medium heat until the rhubarb is falling apart and the mixture is thick, gloopy and sticky. Remove from the heat and strain 4 tablespoons of the mixture through a sieve to produce a pink syrup. Set this syrup aside for later. Leave the remainder of the compote to cool completely

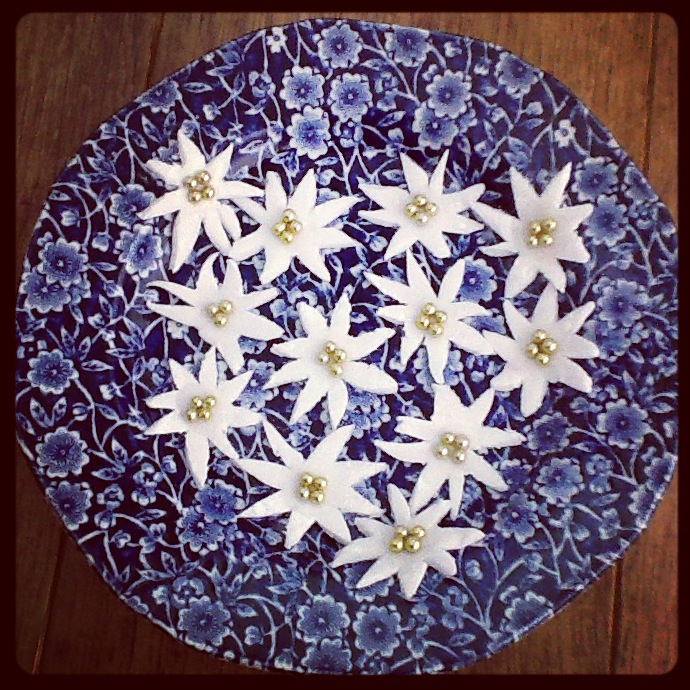
Use a cupcake corer or a small knife to remove a small section from the middle of each cupcake. Fill this hole with the rhubarb compote made earlier. Set aside. Make the buttercream by beating the butter, icing sugar, rosewater and the rhubarb syrup until the mixture is thick and fluffy (about 5 minutes) Add a few drops of red food colouring to create a pink icing. Spoon this in the piping bag with a large star nozzle and pipe onto the top of the cupcake. Decorate with sugarpaste flowers or other decorations of your choice.

Baking · Cake · Cake Decorating · Europe · Nation Cake Challenge · Sugar Flowers

Azerbaijan: Black Tea Cake

Flag of Azerbaijan

In every country, when you visit someone’s house you will likely be treated to some forms of refreshment. Whether tea, coffee or water; to paraphrase Sheldon Cooper ‘The social protocol dictates that when you have visitors you must offer them a hot beverage.’ Crazy he may be, but he’s dead on – you’ve got to do it!

If you visit someone in Azerbaijan, and they follow this protocol, you would most likely be offered black tea (the national drink)often with fruit preserves. I really wanted to try to utilise the flavour of tea in the cake, and decided to try and infuse a simple sponge recipe with tea. I then topped this with a tea infused buttercream and decorated it with sugar flowers.

OLYMPUS DIGITAL CAMERA

OLYMPUS DIGITAL CAMERA

Black Tea Cake

Ingredients:

The cake:

  • 3 black tea bags (I used Earl Grey)
  • 2 tbsp freshly boiled water
  • 8oz butter
  • 8oz caster sugar
  • 8oz plain flour
  • 3 tsp baking powder
  • 4 eggs

Buttercream (recipe taken from the trusted Hunningbird Bakery):

  • 250g icing sugar
  • 80g unsalted butter
  • 25ml whole milk
  • The three tea bags (used earlier in the recipe)

Sugar flowers:

  • Royal icing
  • Icing sugar (used for dusting)
  • A few drops of yellow food colouring

Instructions:

Pre-heat the oven to 180°C/Gas mark 5, and grease and line an 8in springform tin.

Steep the teabags in the boiled water and leave for 30 minutes, in order to extract as much flavour as possible. Make a standard sponge mixture by creaming together the butter and sugar, before adding the eggs in one by one. Sift in the flour and baking powder and mix to a smooth consistency. Remove the tea bags from the tea and set aside – you will be using them again later. Add the tea to the cake mix and fold in until completely combined. Pour the mixture into the pre-prepared cake tin and bake for 45-50 minutes until the cake is golden brown and firm to the touch. Remove and allow to cool.

To make the frosting, place the tea bags into the milk, and allow to steep for about 10 minutes. Cream together the icing sugar and butter until light and fluffy – this will take about 5 minutes so make your life a bit easier by using an electric whisk! Remove the tea bags, squeezing to release as much of the remaining flavour as you can, and mix the milk into the frosting, beating for another 2-3 minutes to ensure a really light fluffy frosting.

To construct the cake use a long serrated knife to cut the cake into two layers, and to ensure that the cakes are completely flat – this will make filling and decorating much easier! Place the bottom layer on a plate and spread with a layer of the buttercream. Place the second cake on the top, and cover the cake with the remainder of the buttercream, using a palate knife to ensure a smooth finish. Use the edge of the palate knife to give a decorative layered look to your cake if you wish, or just leave it as a smooth finish. Decorate with sugar flowers of your choice – I have used simple blossom flowers, but you can be as creative as you wish!

Serve with a refreshing beverage of your choice.

Baking · Cake · Cake Carving · Cake Decorating · Europe · Nation Cake Challenge · Sugar Flowers

Switzerland: Chocolate and Almond Mountain Cake

The national flag of Switzerland.

Switzerland is a country that means a lot to me personally having been the basis for many family holidays in the Bernese Alps. As a result I knew instantly that I wanted to incorporate two things into this cake – mountains and edelweiss. In order to accomplish this successfully I decided to use this cake as an opportunity to brush up on my cake decorating skills which at this point in the challenge are approximately nil.

The basis of this cake is a chocolate almond sponge with added chunks of dark chocolate and almonds, inspired by the famous Swiss chocolate brand Toblerone. One of my favourite chocolates (on the return flight of a holiday I usually can be found in the duty-free shop stocking up!), it seemed natural to present this, both through choice of flavours and in that the iconic triangle shape is represented by a Swiss mountain, the Matterhorn. After carving and construction the cake was then covered in dark chocolate and  frozen. White chocolate was added to represent the snow-capped peaks, and fondant edelweiss were added to the bottom.

OLYMPUS DIGITAL CAMERA

Chocolate and Almond Mountain Cake

Ingredients:

The cake:

  • 6oz plain flour
  • 8oz butter
  • 8oz caster sugar
  • 4oz ground almonds
  • 4 eggs
  • 3 tsp baking powder
  • 4 tbsp cocoa powder
  • 100g dark chocolate, roughly chopped
  • 100g almonds, roughly chopped
  • 2 tsp vanilla essence

To decorate:

  • 300g dark chocolate
  • 100g white chocolate
  • White fondant icing
  • Small gold balls (very small balls of yellow icing can be used if not available)

Instructions:

Preheat the oven to Gas Mark 5. Grease and line a shallow rectangular baking tray (You are looking for area not depth in this tin!)

Cream together the sugar and butter before adding the eggs, beating after each addition. Add the flour, baking powder, cocoa, ground almonds and vanilla essence and mix until thoroughly combined. Add in the chopped chocolate and nuts and mix in gently. Pour the mixture into the prepared tin and bake in the oven for 45-50 minutes, turning halfway through the cooking time.

When the cake is cooked, remove from the oven and leave to cool for 15 minutes. Turn the cake out onto a wire rack and leave to cool completely. As the cake must be completely cold before carving, if possible place in the freezer for half n hour before carving.

Whilst the cake is cooking/cooling, make your Edelweiss. Dust your surface and fondant with icing sugar before briefly kneading ad then rolling out to a thickness of 2mm. Using an small 8 petal daisy template (if you do not have one, draw your own), cut out about 10 flowers out of the white fondant. Place a small amount of egg white or edible glue onto the centre of each flower, and finish off the flower with the addition of 4 small gold balls. Set these aside to dry.

photo

Once the cake is completely cold, its time to start carving! I built up my cake on a clean chopping board as I did not have a plate long enough to complete this. Cut a slice lengthways from the cake about 3in wide – this will be your base. From the rest of your cake you will now cut the mountains. The simplest way to do this is to cut triangles, however if you are feeling more adventurous, find a mountain of your choice and create a template by drawing around the shape.

At this point melt your dark chocolate, as the next part will be easier if you have it to hand. Use a small amount of dark chocolate to stick the mountains to the base, holding in place with cocktail sticks if necessary. Allow a small amount of time for these to dry (enough that you can remove the cocktail sticks) and then cover the whole cake in melted chocolate. Return the cake to the freezer and leave for the chocolate to set hard.

Melt the white chocolate. Remove the cake from the freezer and use a pastry brush to paint the mountain tops with the white chocolate. Don’t worry about it being too neat, but try to ensure that the snow comes down to the same level – you shouldn’t have one completely covered and one with only a small dab! Using a small amount of white chocolate on the back of each flower, adhere it to the base of the cake in groups of three, covering the bottom of the cake. Place back in the refrigerator to cool